Flat Lay Photography – the art of taking photos from above and creating cool scenes and stories in a still-life setting. Here’s a 30 day challenge I curated from a couple other challenges. Each day is a new theme to experiment and have fun with.
Day 1: Traditional Grid: keeping all of your objects lined up in a “square format” when framing your photo. Imagine there are grid lines on your flat surface. You will want to keep your items straight + balanced in composition
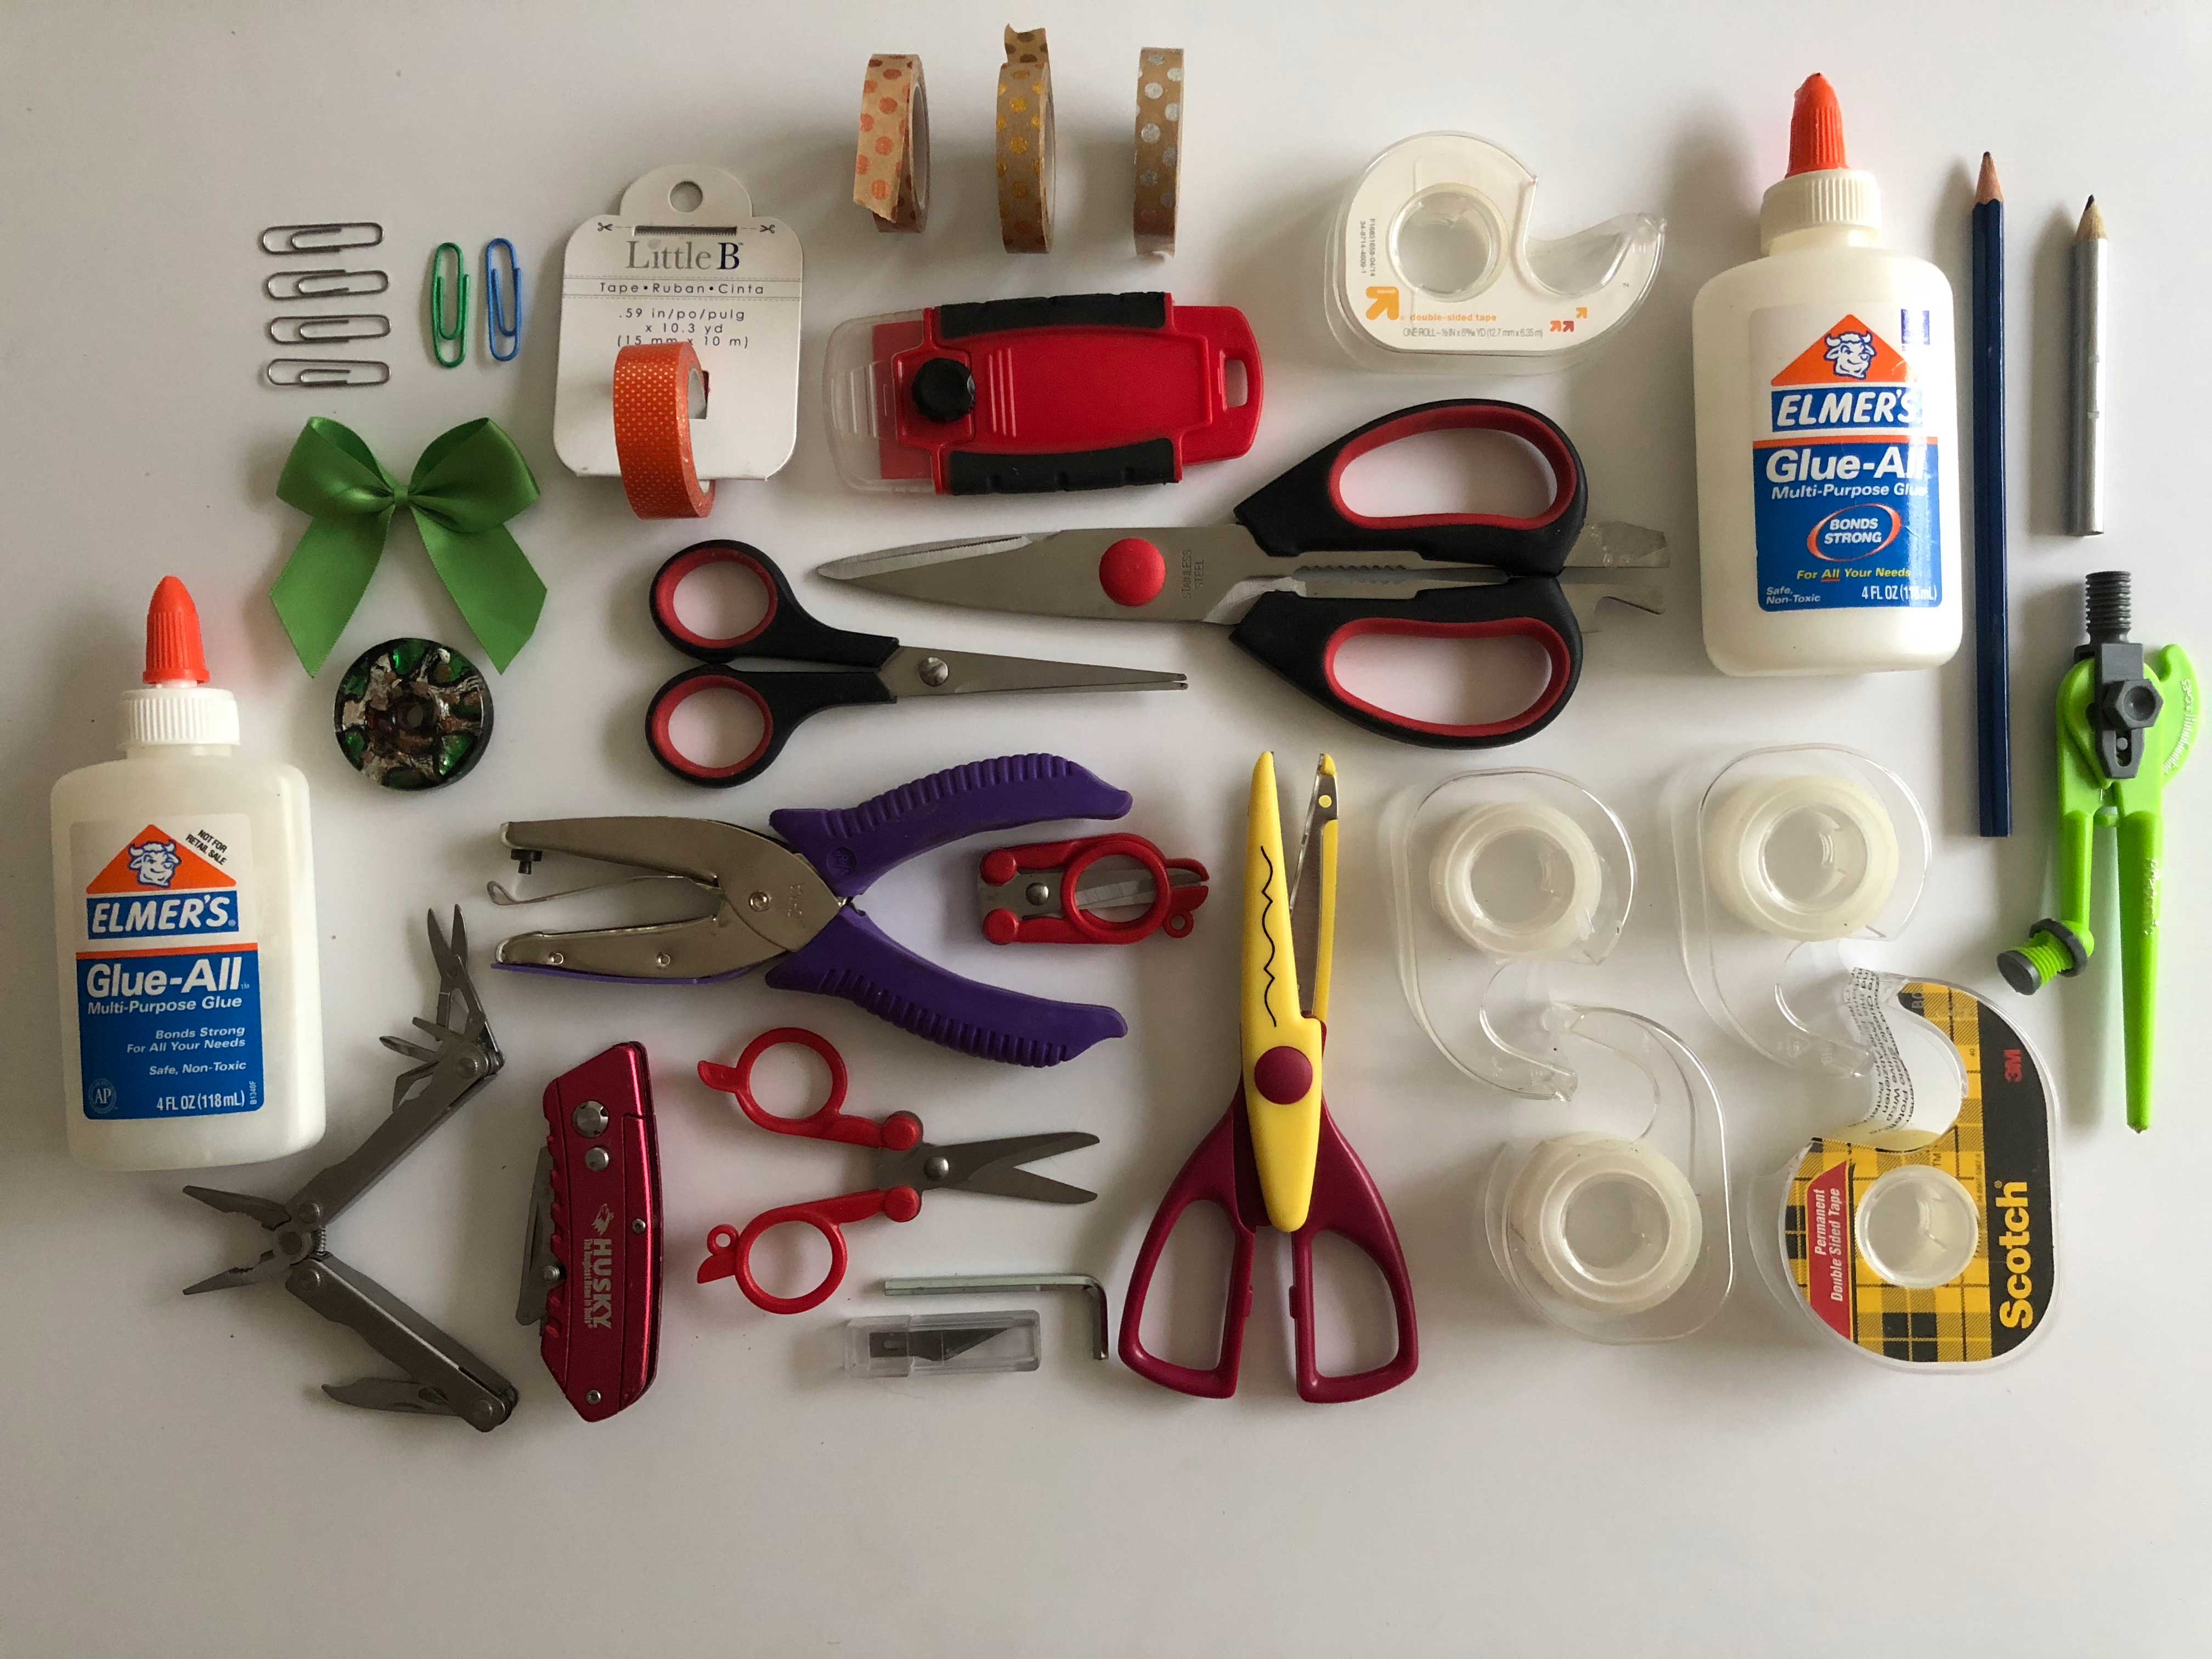
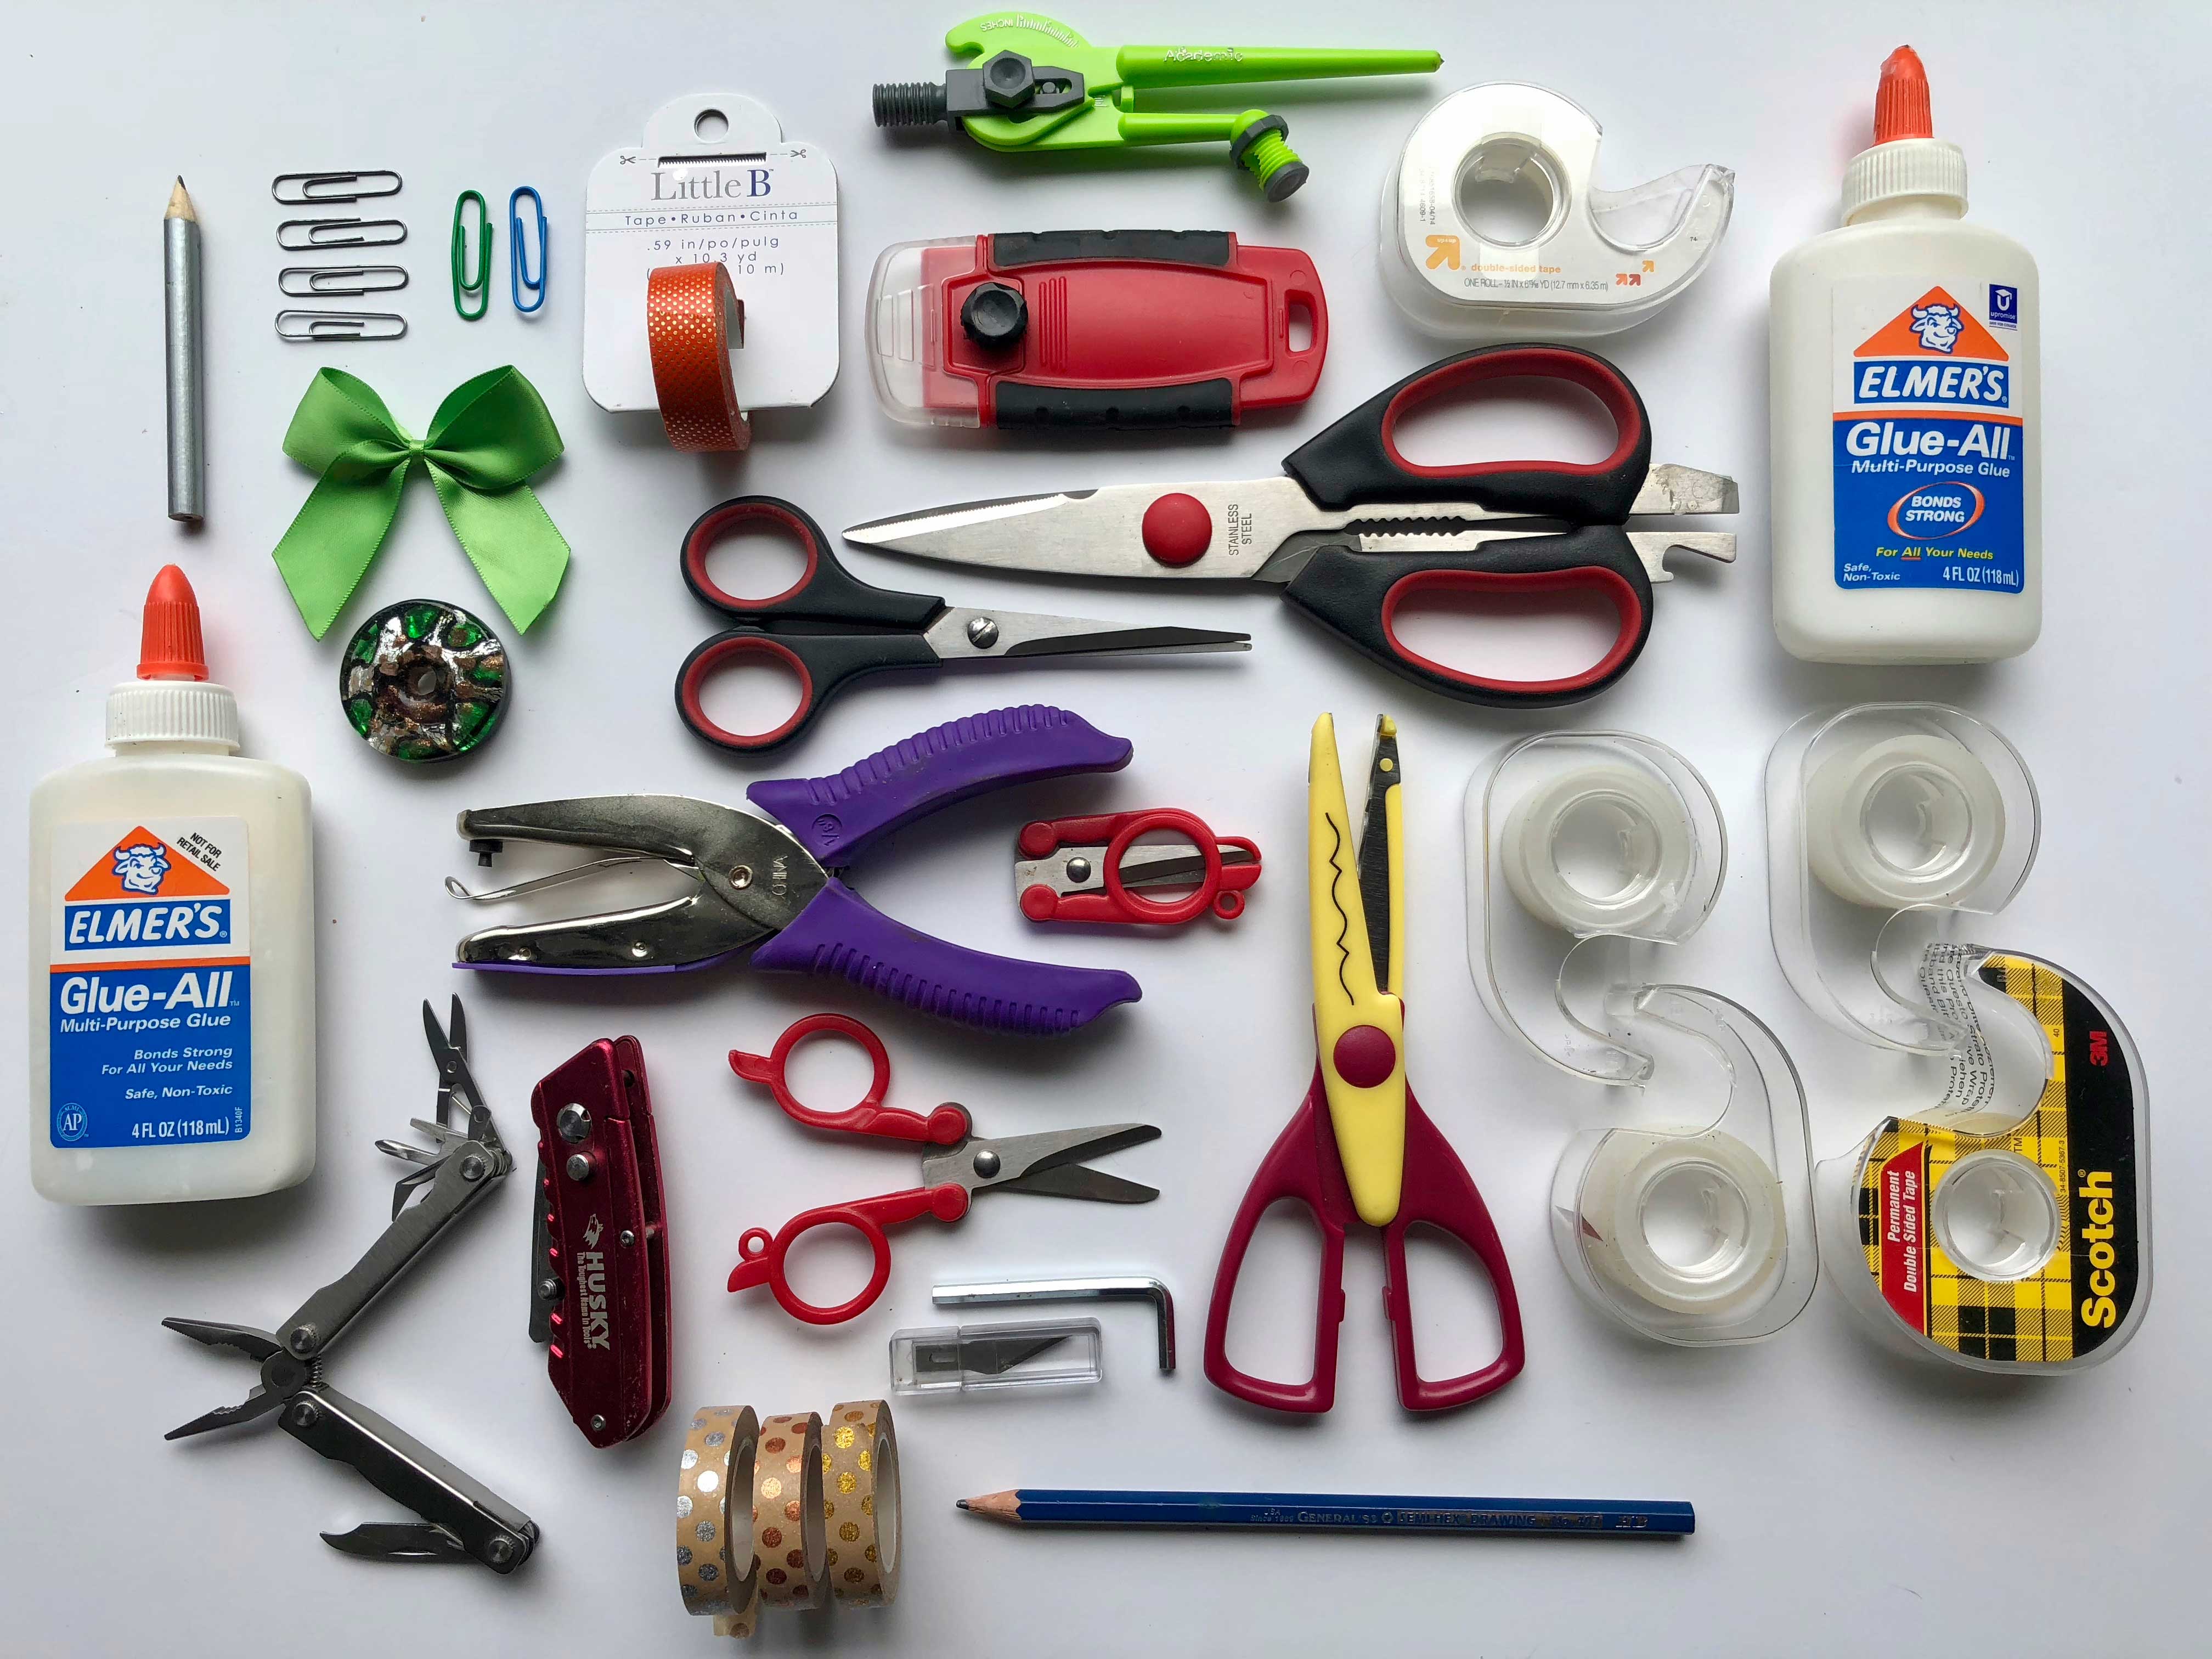
Step 1 – Gather Materials: I nearly spent the entire day deciding what materials to use for my first layout! First, I confused myself by gathering things that did not go together. The only things that did go together were a couple random kitchen items. I quickly played around to see if I could work with them, but it seemed too forced and not enough variety.
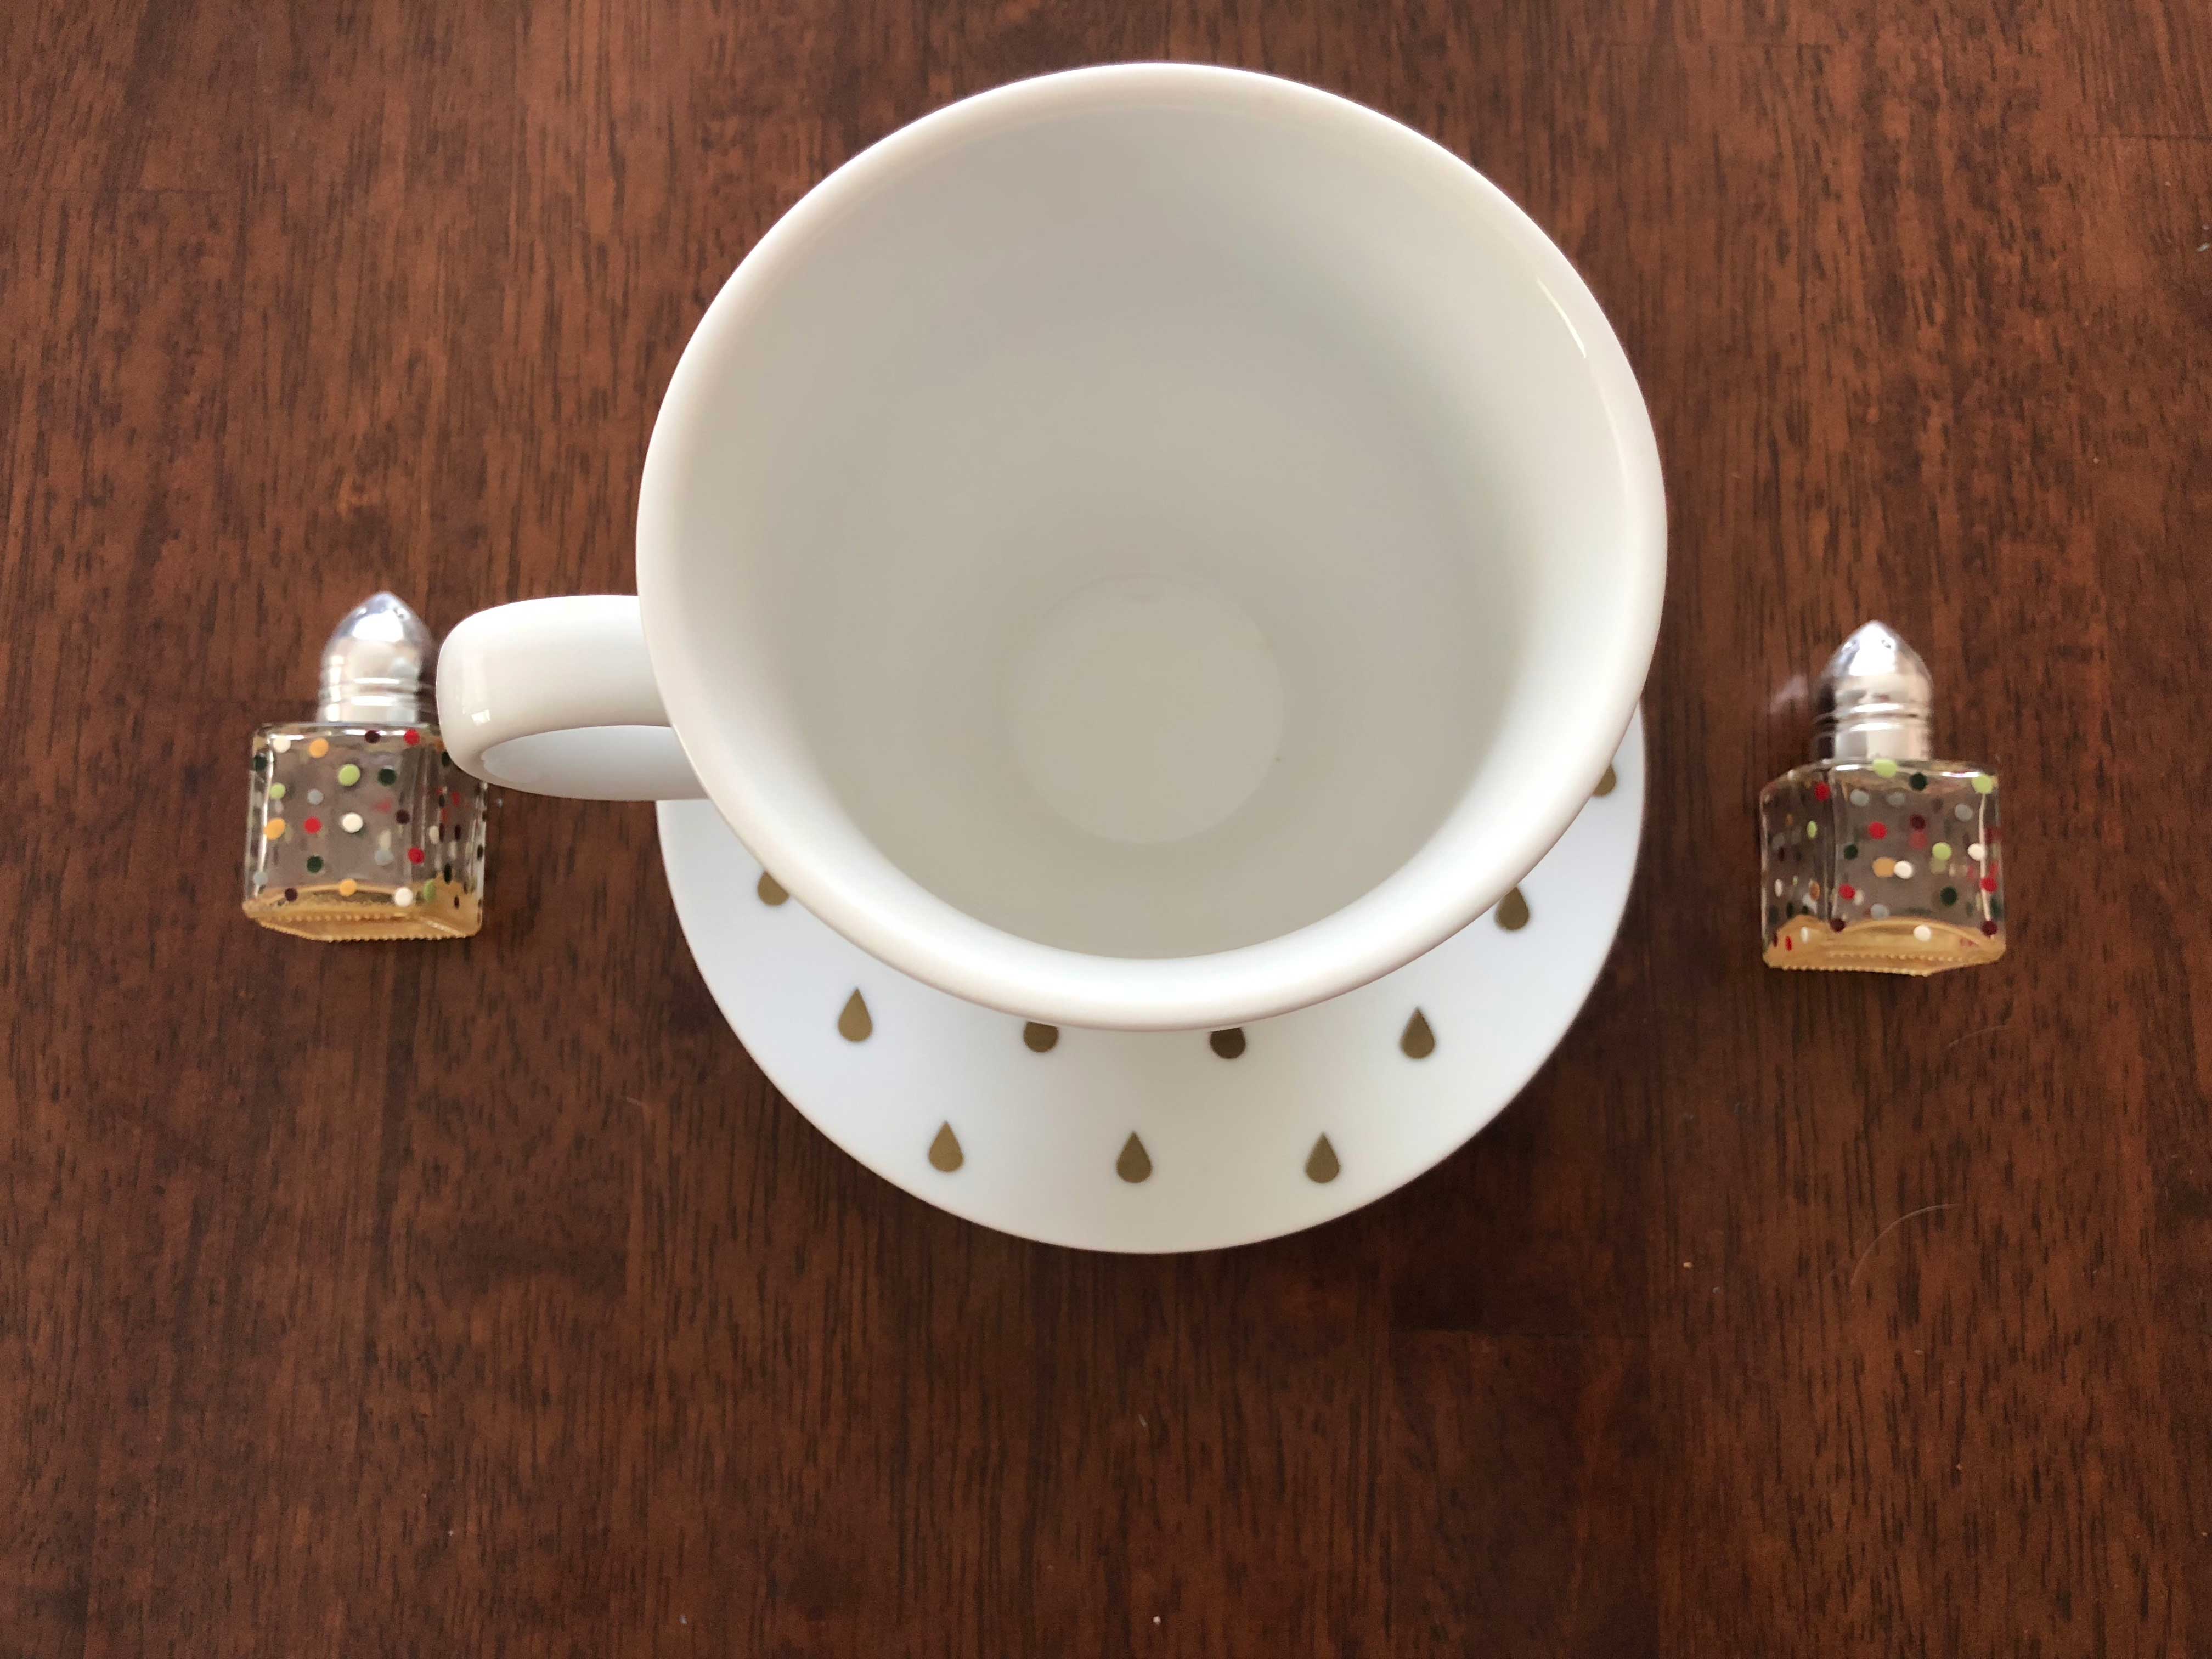
Then I tried out a quick earring layout, but wasn’t loving it. The earrings were difficult to lay flat and I knew the whole shoot I would be fidgeting with them. I also really wanted to stick with the “square format” with the imaginary grid so, it was scrapped. Picture for fun.
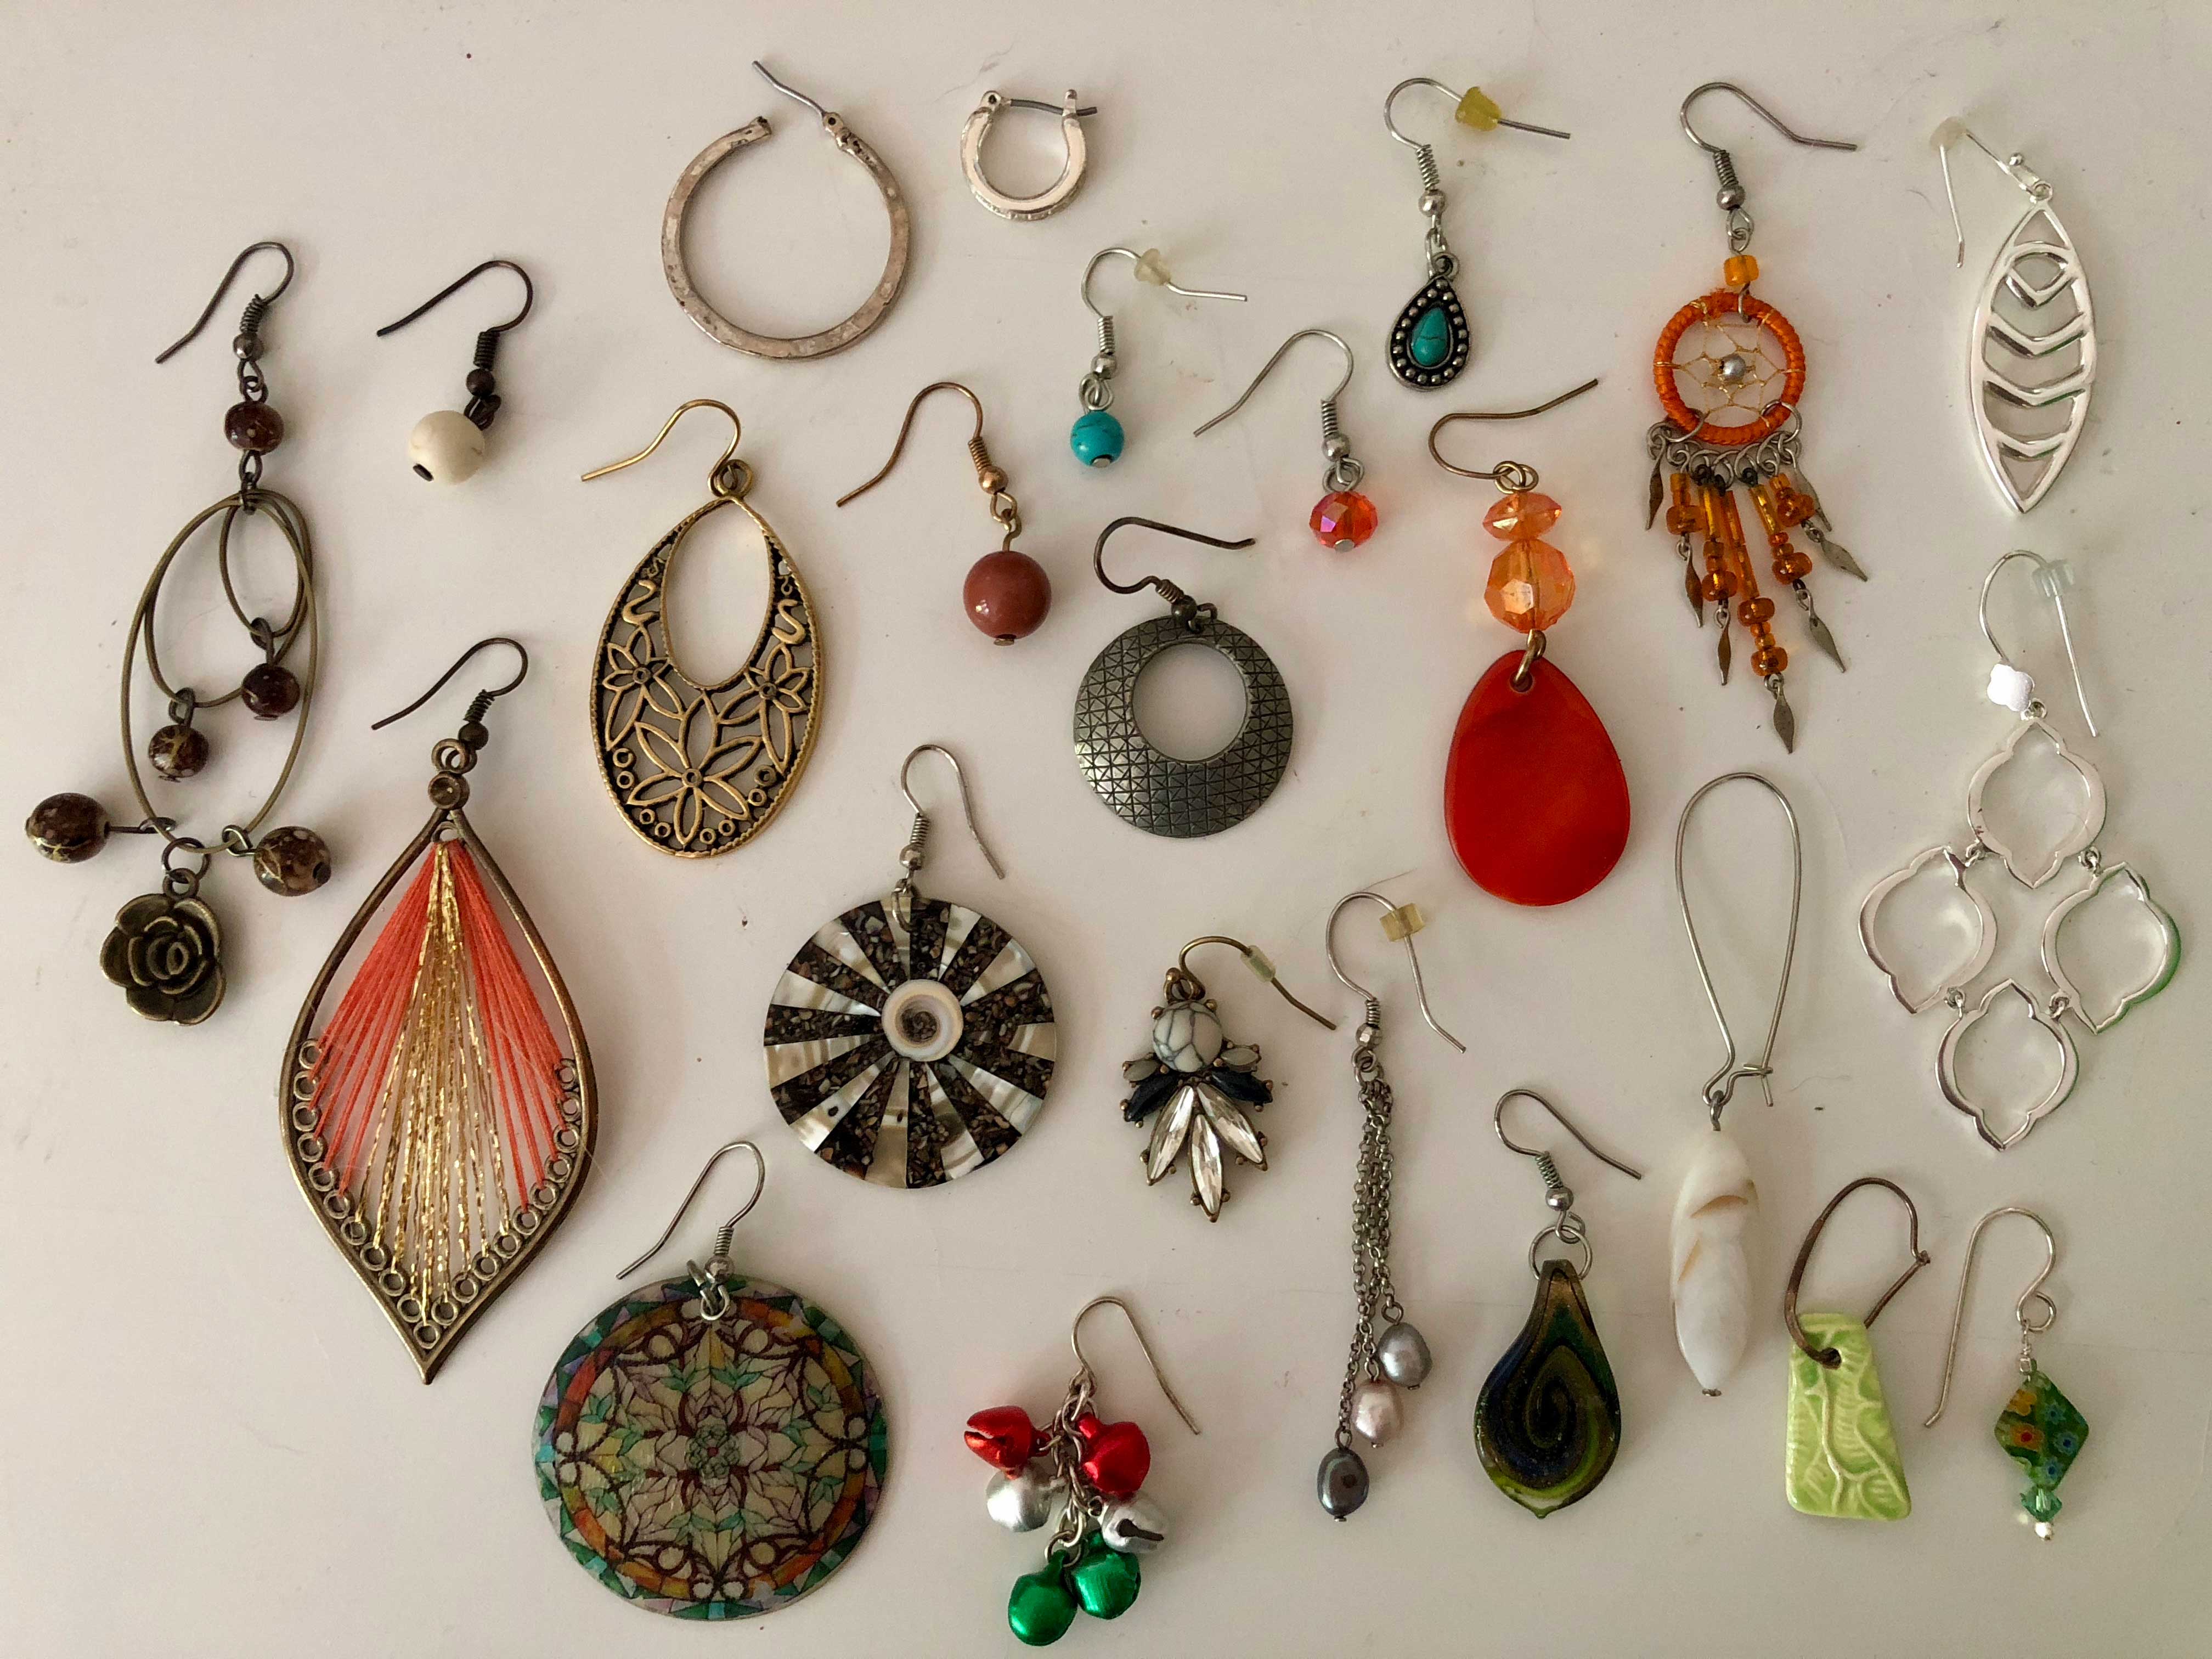
Finally, a found a great assortment of items in a craft drawer. It felt like the perfect find, because there were multiple items that “went together” but were also had a lot of variety.
Pro Tip #1: Can’t figure out what items to use? Check a junk drawer for some inspiration!
Step 2 – Decide on a background. I had a few options in mind, but I ended up using a white poster-board for simplicity.
Step 3 – Lighting. I started the shoot late in the day (because I spent all day trying to decide on my theme), so I knew the lighting would be rough. The plan was to do the shoot on my kitchen table because it’s naturally a very well-lit room. Unfortunately, by the time I started, the light was creating a shadow. I tried turning on the artificial lights in the room, which helped with the shadows, but created a very yellow-ish tint to the whole photo. It was obviously too late in the day to get a photo from that spot.
Since my original lighting spot was not working, I quickly adjusted. I was able to balance the poster-board between a chair and a window sill (extremely unsteady and just asking for disaster), but it worked – ample, even lighting!
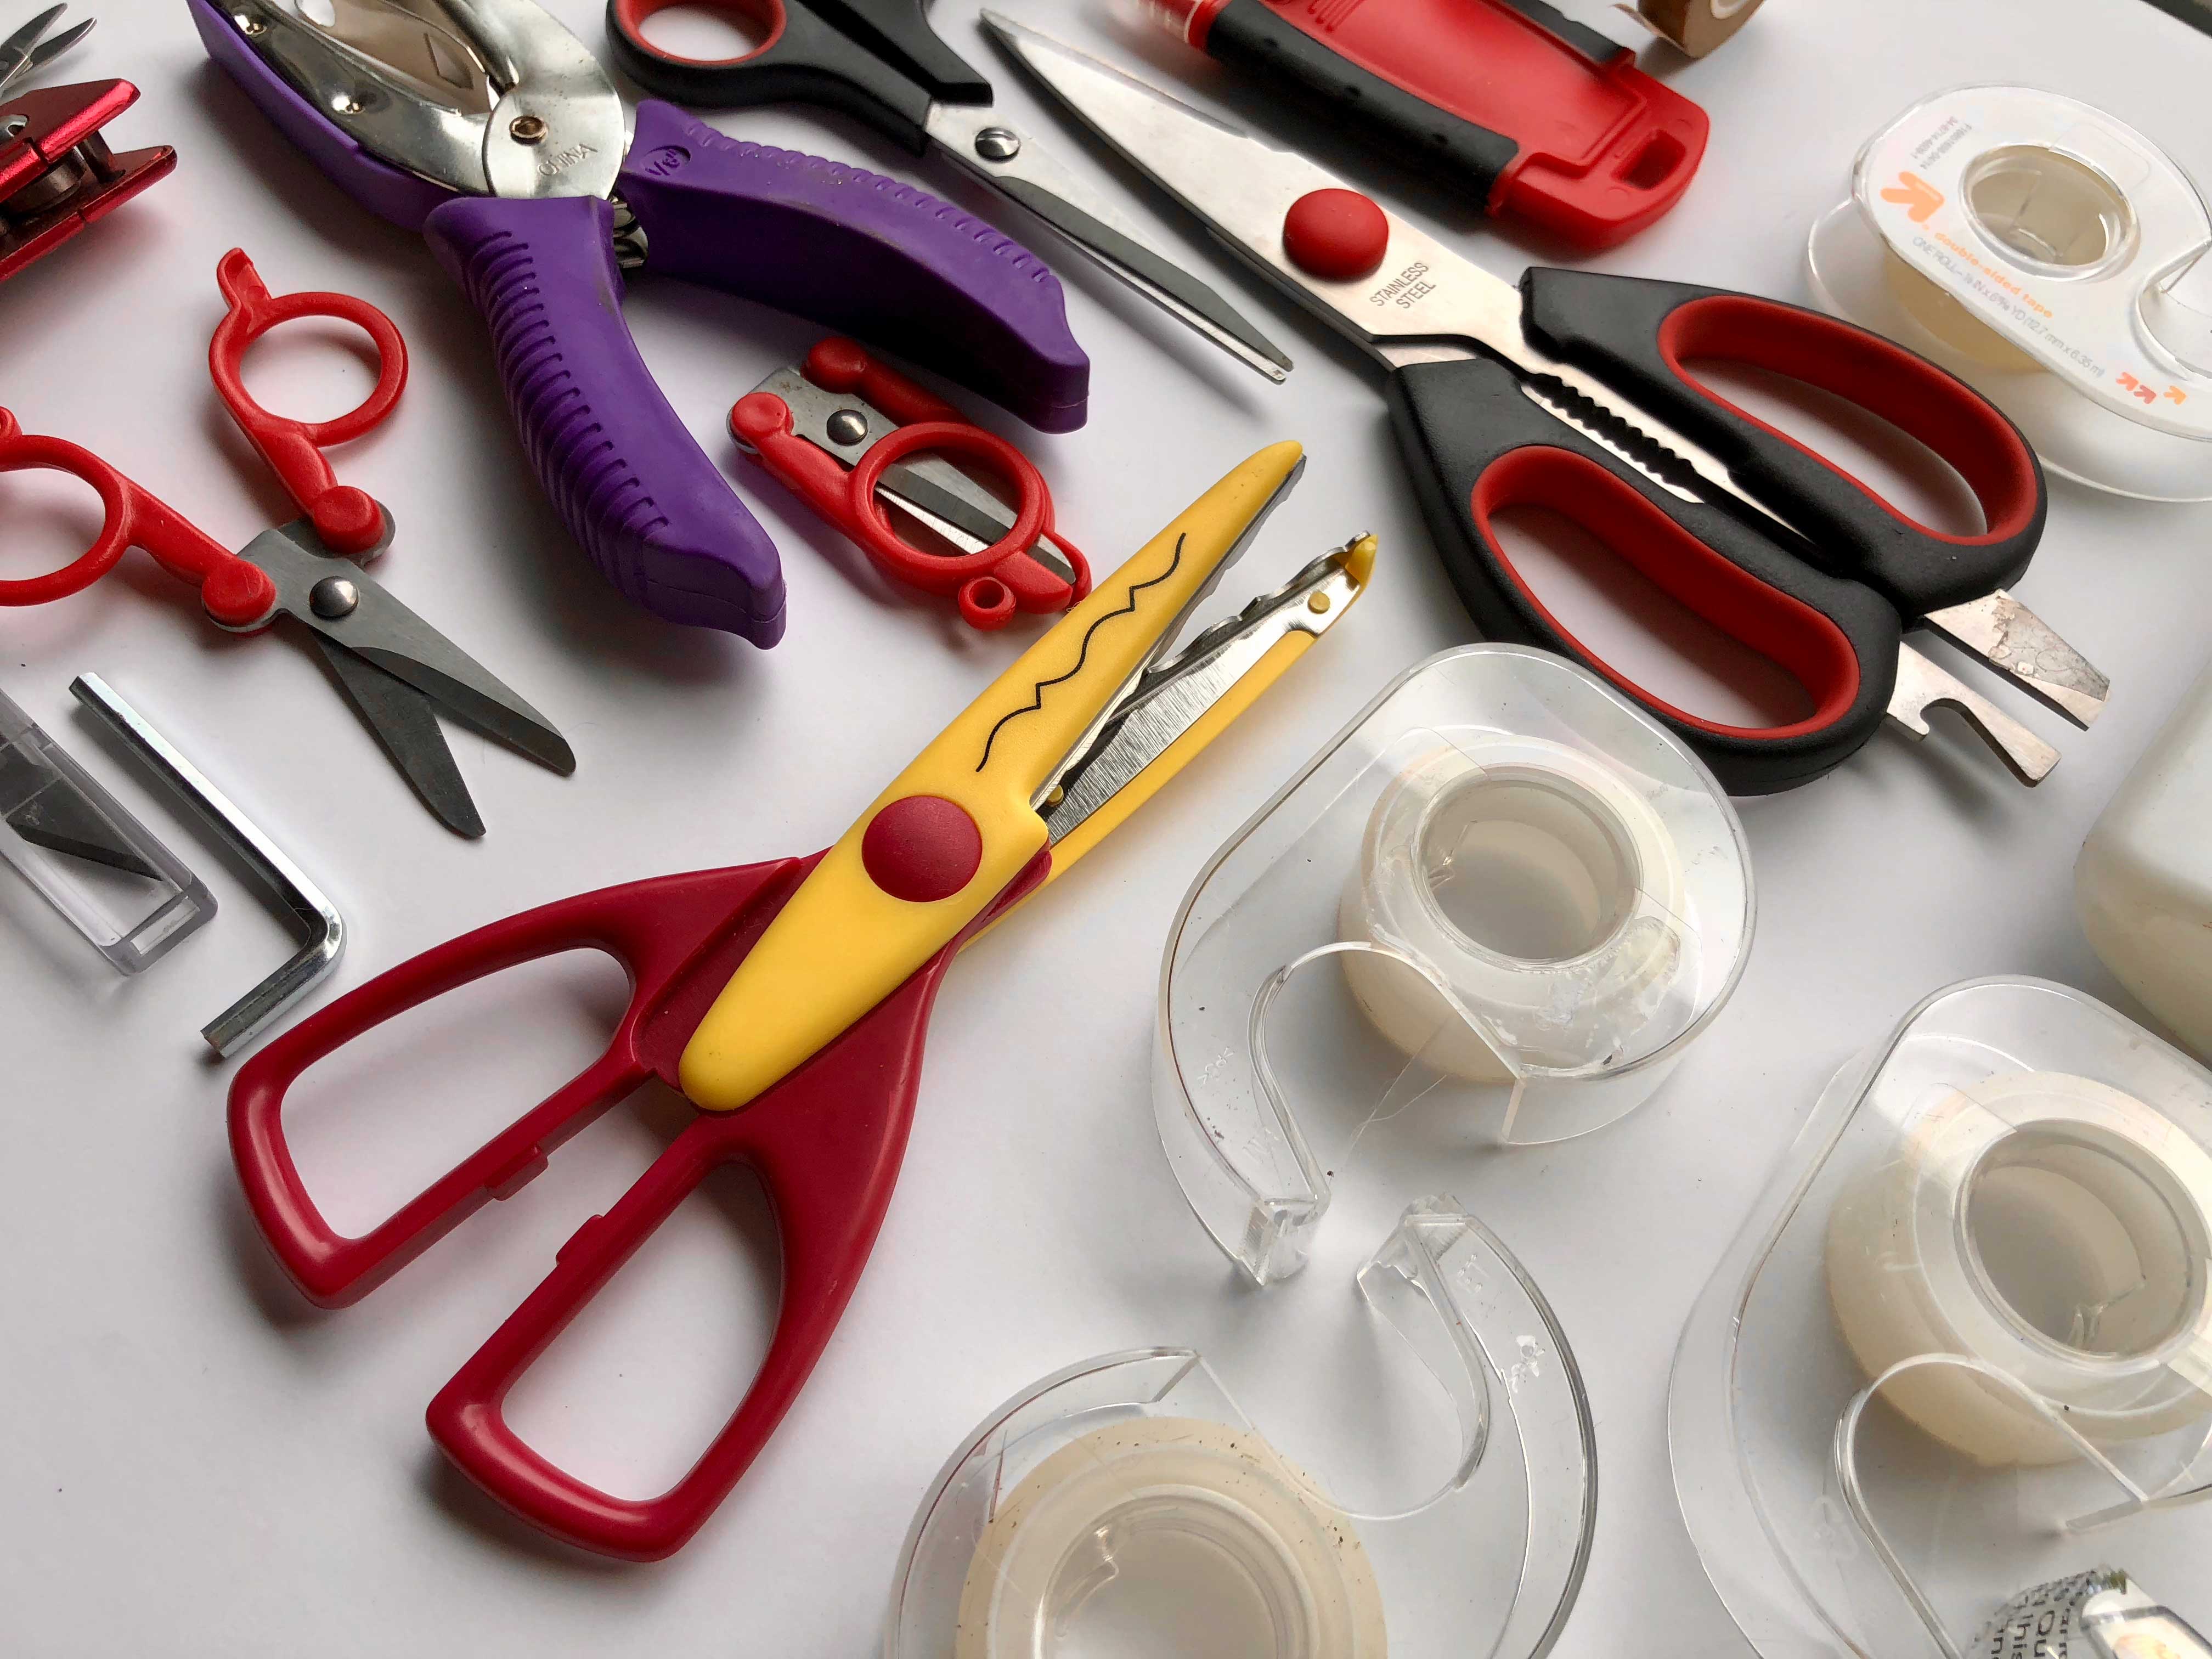
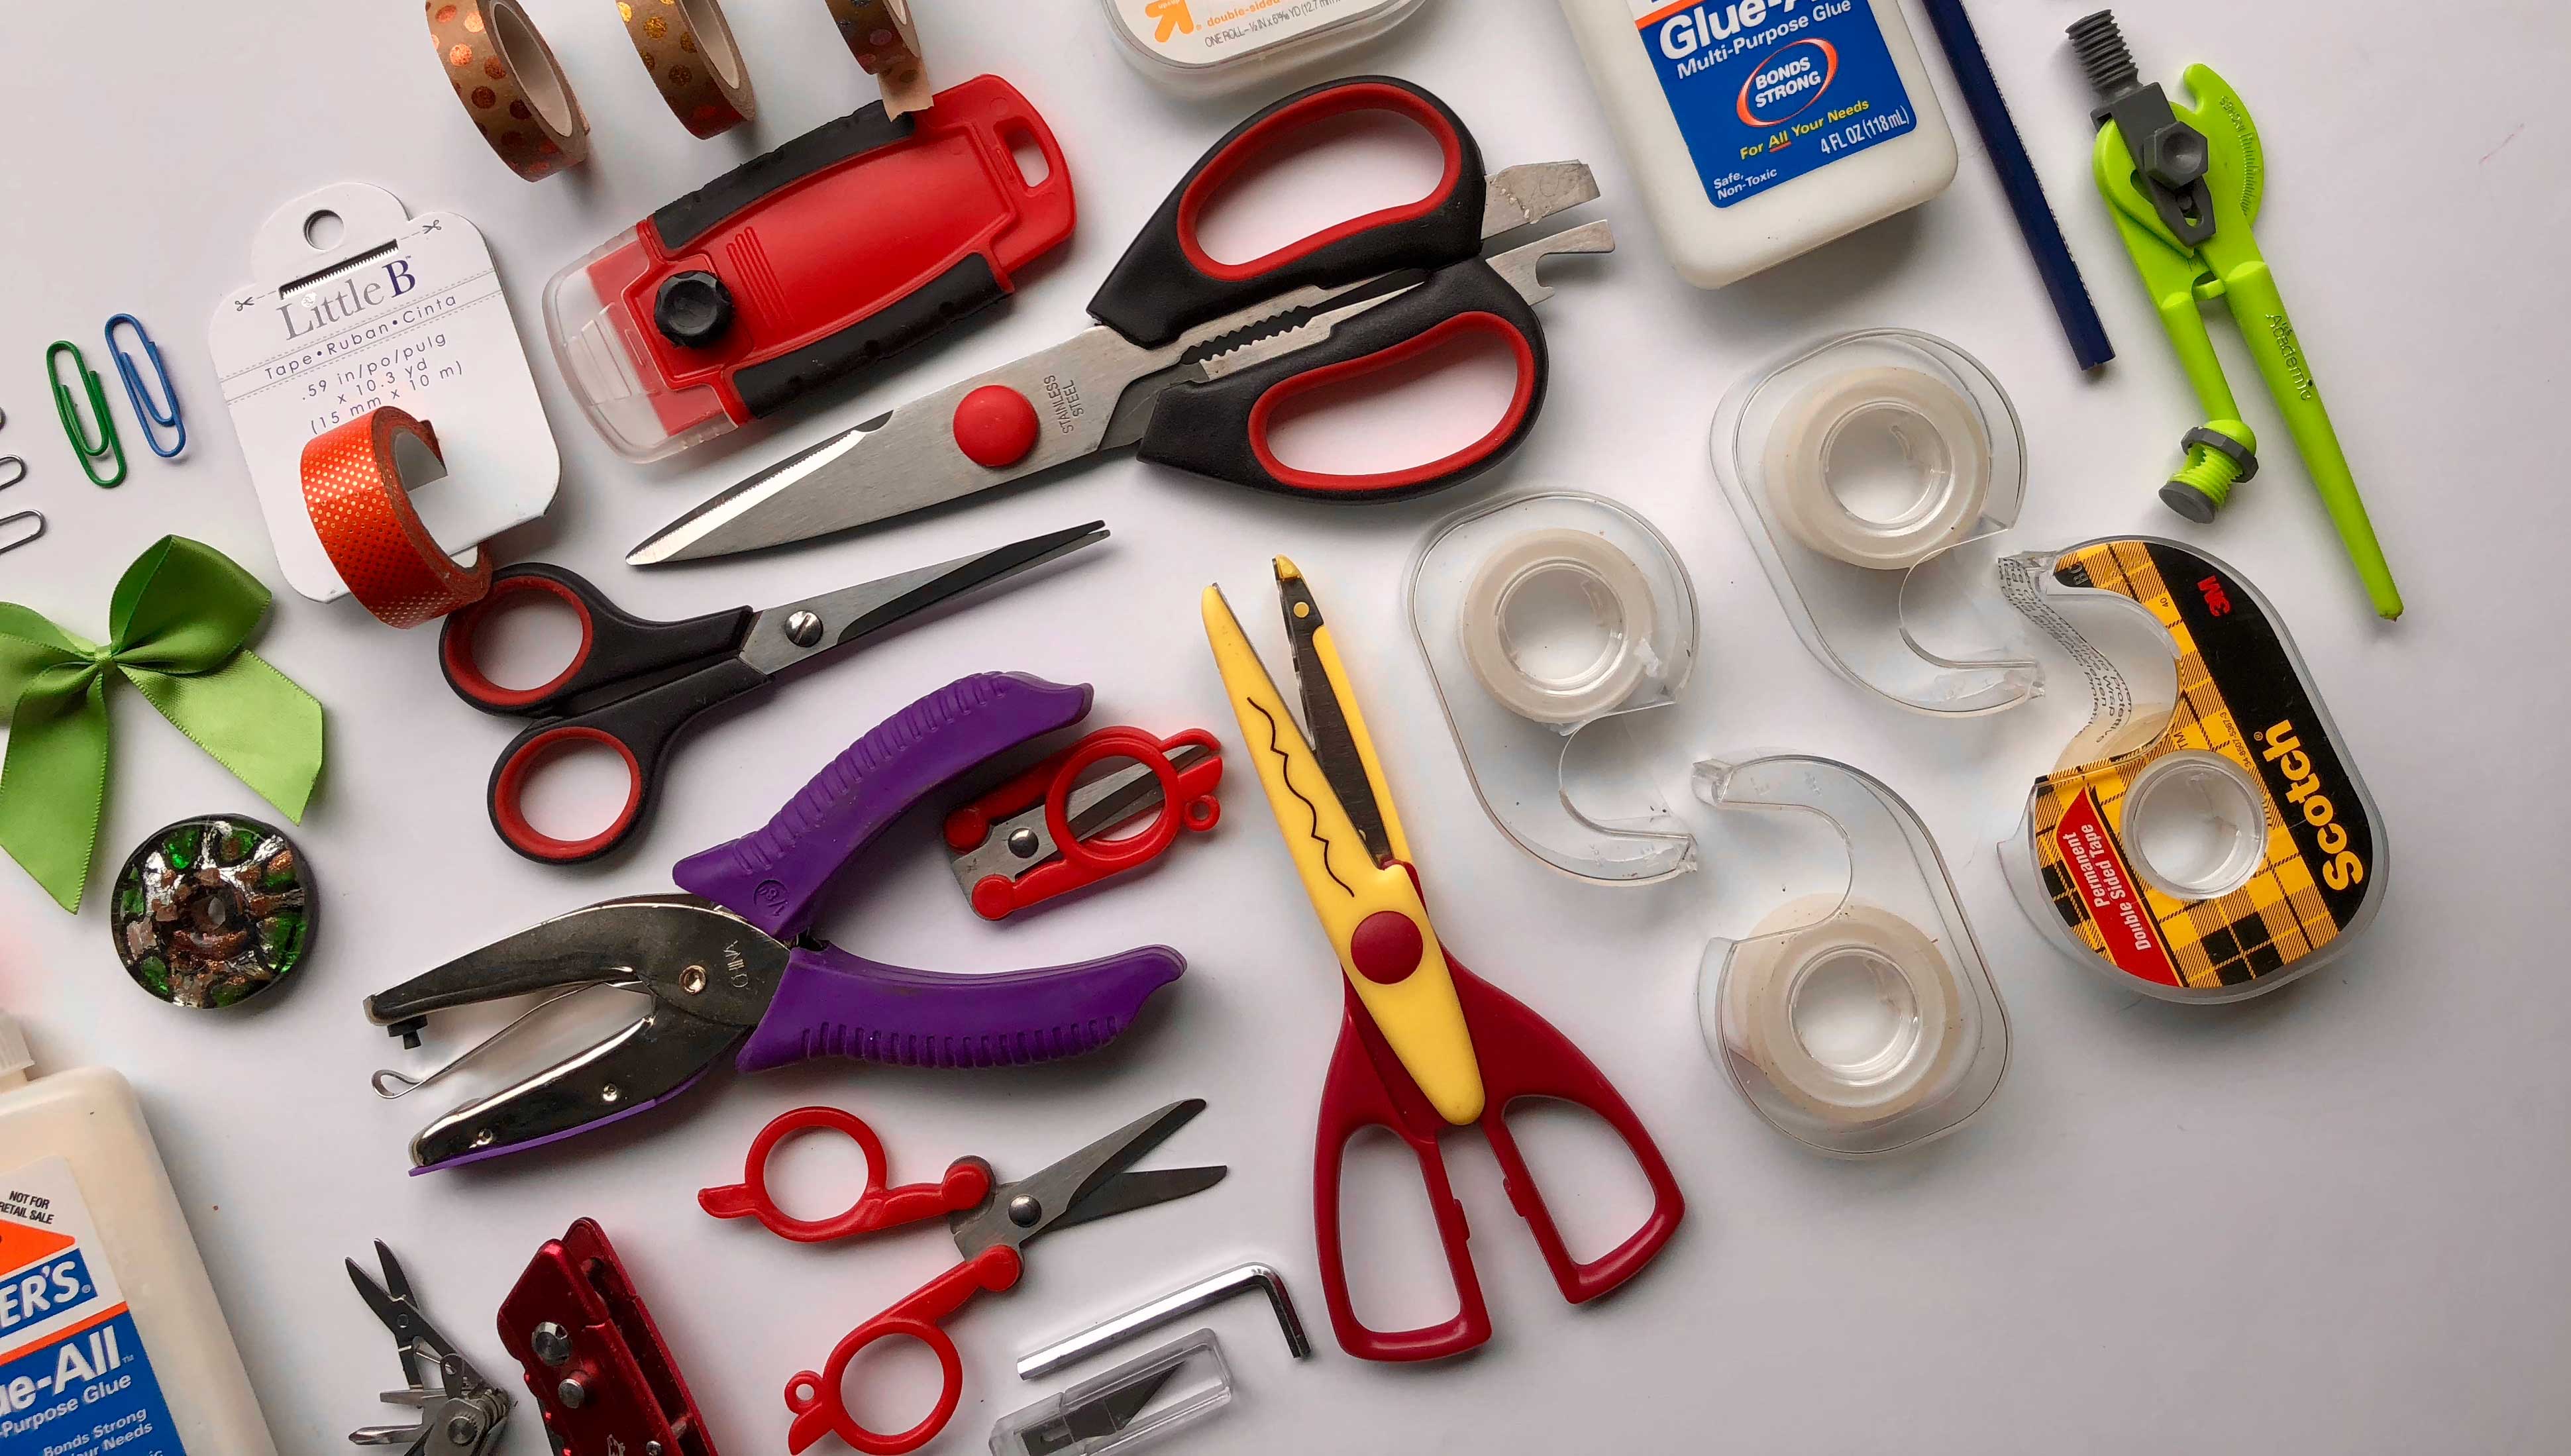
Step 4 – Shoot. First I shot in the original layout. then I tried some other angles.
Final Thoughts: I think that was a good go at it for the first time. What do you think?
Onto Day 2!